Sunset Gradient Nails: Techniques, Ideas, and How to Get the Look
What Are Sunset Gradient Nails?
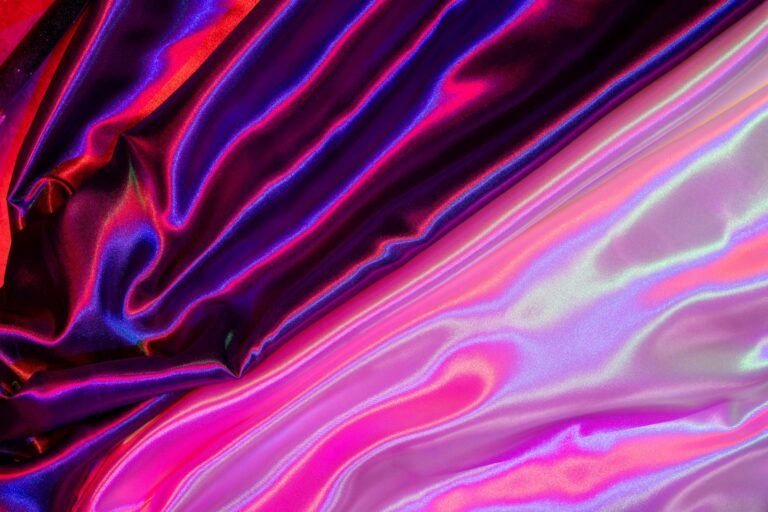
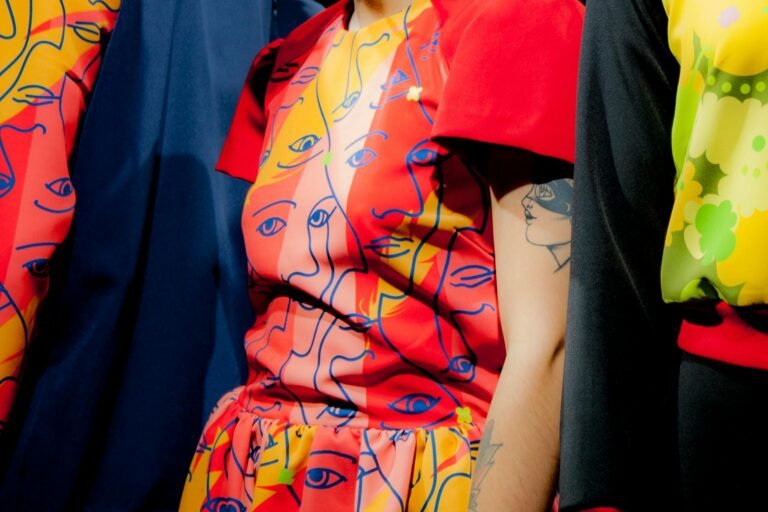
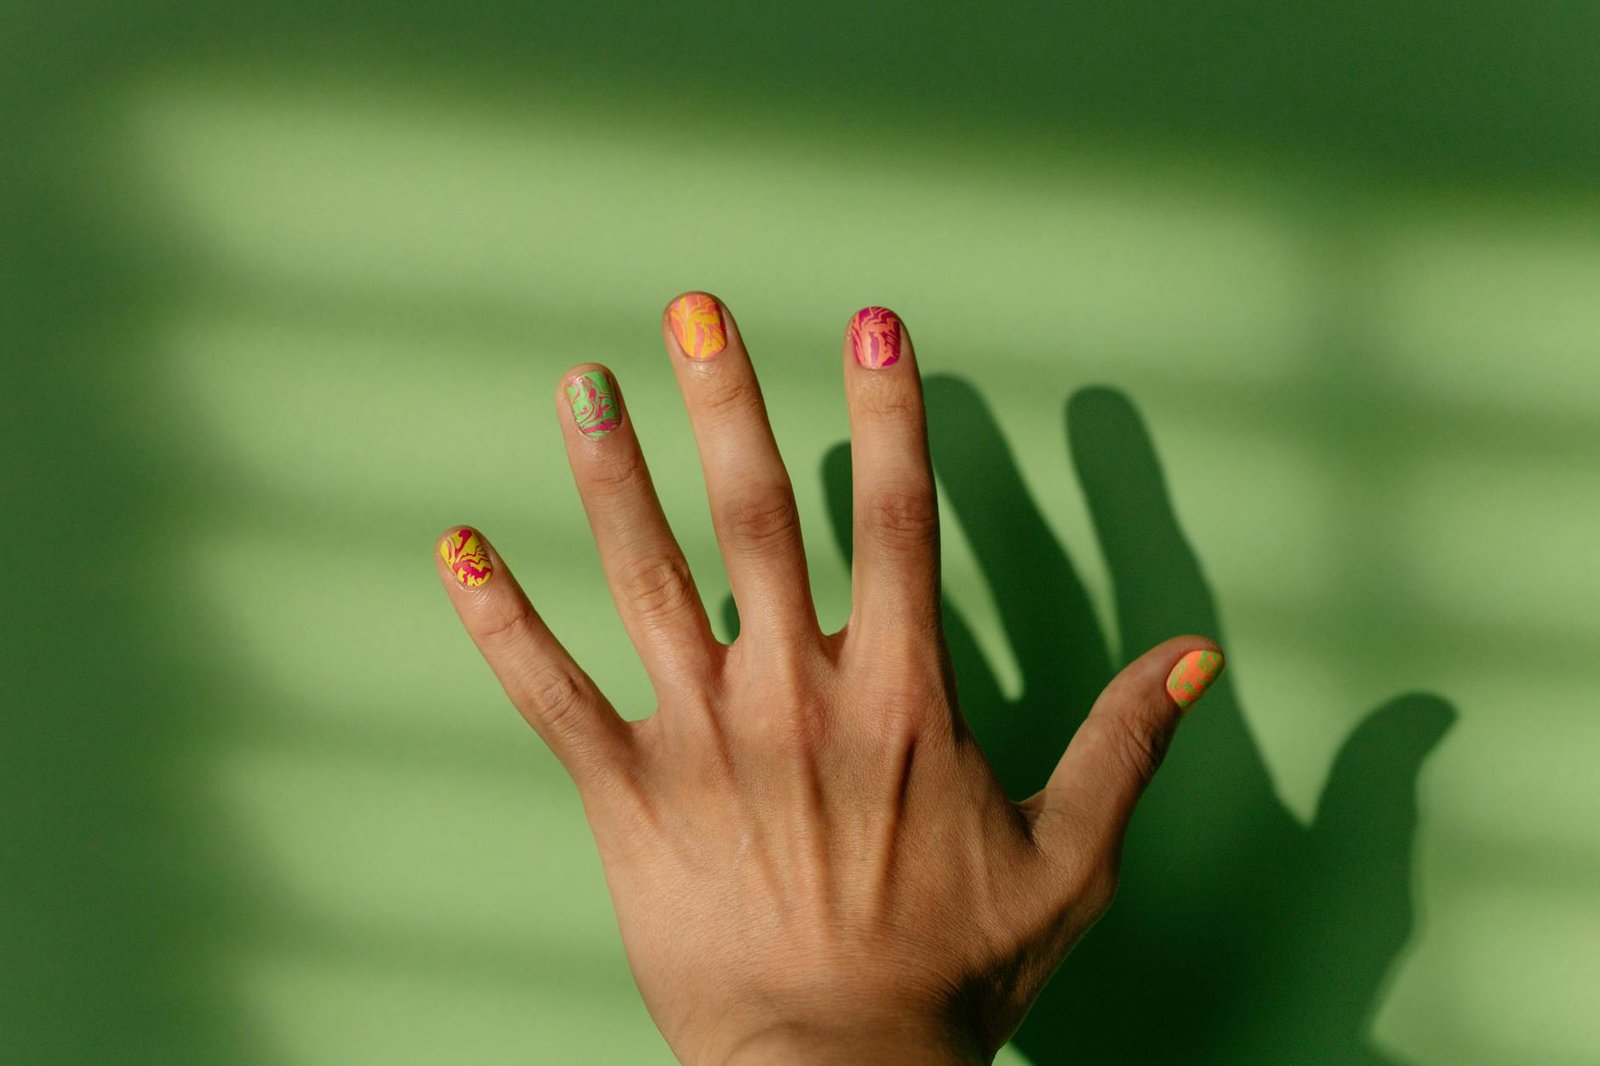
Sunset gradient nails are a nail art style where the colours on each nail transition through a sunset palette — typically orange, coral, pink, magenta, and purple — in a smooth ombre fade. The gradient can run horizontally across the nail (from tip to base or base to tip), vertically (from one side to the other), or diagonally. When done well, each nail looks like a miniature sunset — the same colour fade that appears in gradient fashion and design, scaled to the canvas of a fingernail.
Sunset gradient nails have been one of the most consistently popular nail art styles across social media for several years, and their appeal is straightforward: the warm palette is universally flattering against all skin tones, the gradient effect creates visual depth and movement, and the sunset reference is one of the most universally appealing images in visual culture.
Marie Claire’s guide to ombré nail designs covers how gradient manicure techniques have evolved, with expert advice from nail artists on achieving the smoothest colour transitions — from understated two-tone blends to full multi-colour sunset fades.
Sunset Gradient Nail Colour Combinations
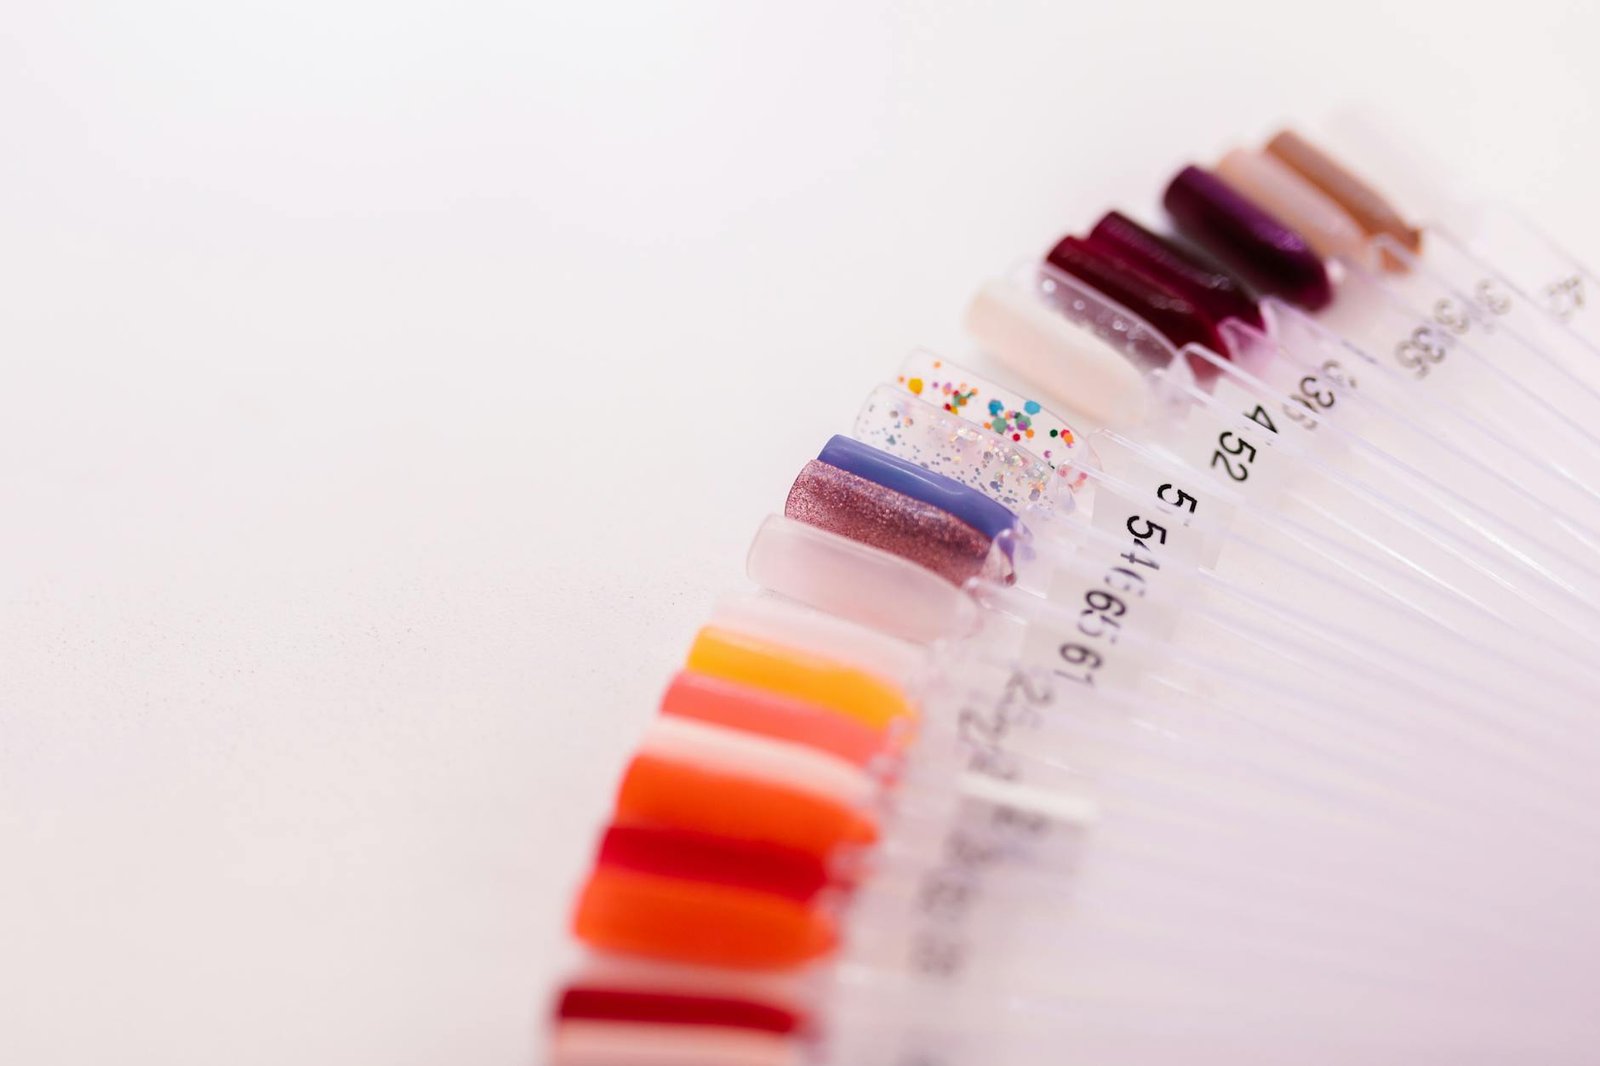
The sunset palette can be interpreted in different ways depending on which part of a sunset you want to reference:
- Classic sunset — yellow, orange, coral, hot pink. The most vivid and recognisable sunset palette. Works best on natural or light-coloured base.
- Deep sunset — burnt orange, rust, magenta, deep purple. A richer, more saturated version of the classic sunset. More dramatic and works particularly well against deeper skin tones.
- Pastel sunset — peach, light pink, soft lavender. A softer, more wearable version of the sunset gradient. Suitable for all occasions from casual to formal.
- Tropical sunset — gold, orange, pink, turquoise. Adding turquoise or teal as a starting point creates a tropical water-and-sky sunset reference.
- Smoky sunset — muted terracotta, dusty rose, mauve, grey-purple. Earth-toned sunset gradient with a sophisticated, less saturated register.
Techniques for Sunset Gradient Nails
Sponge Gradient (The Standard Method)
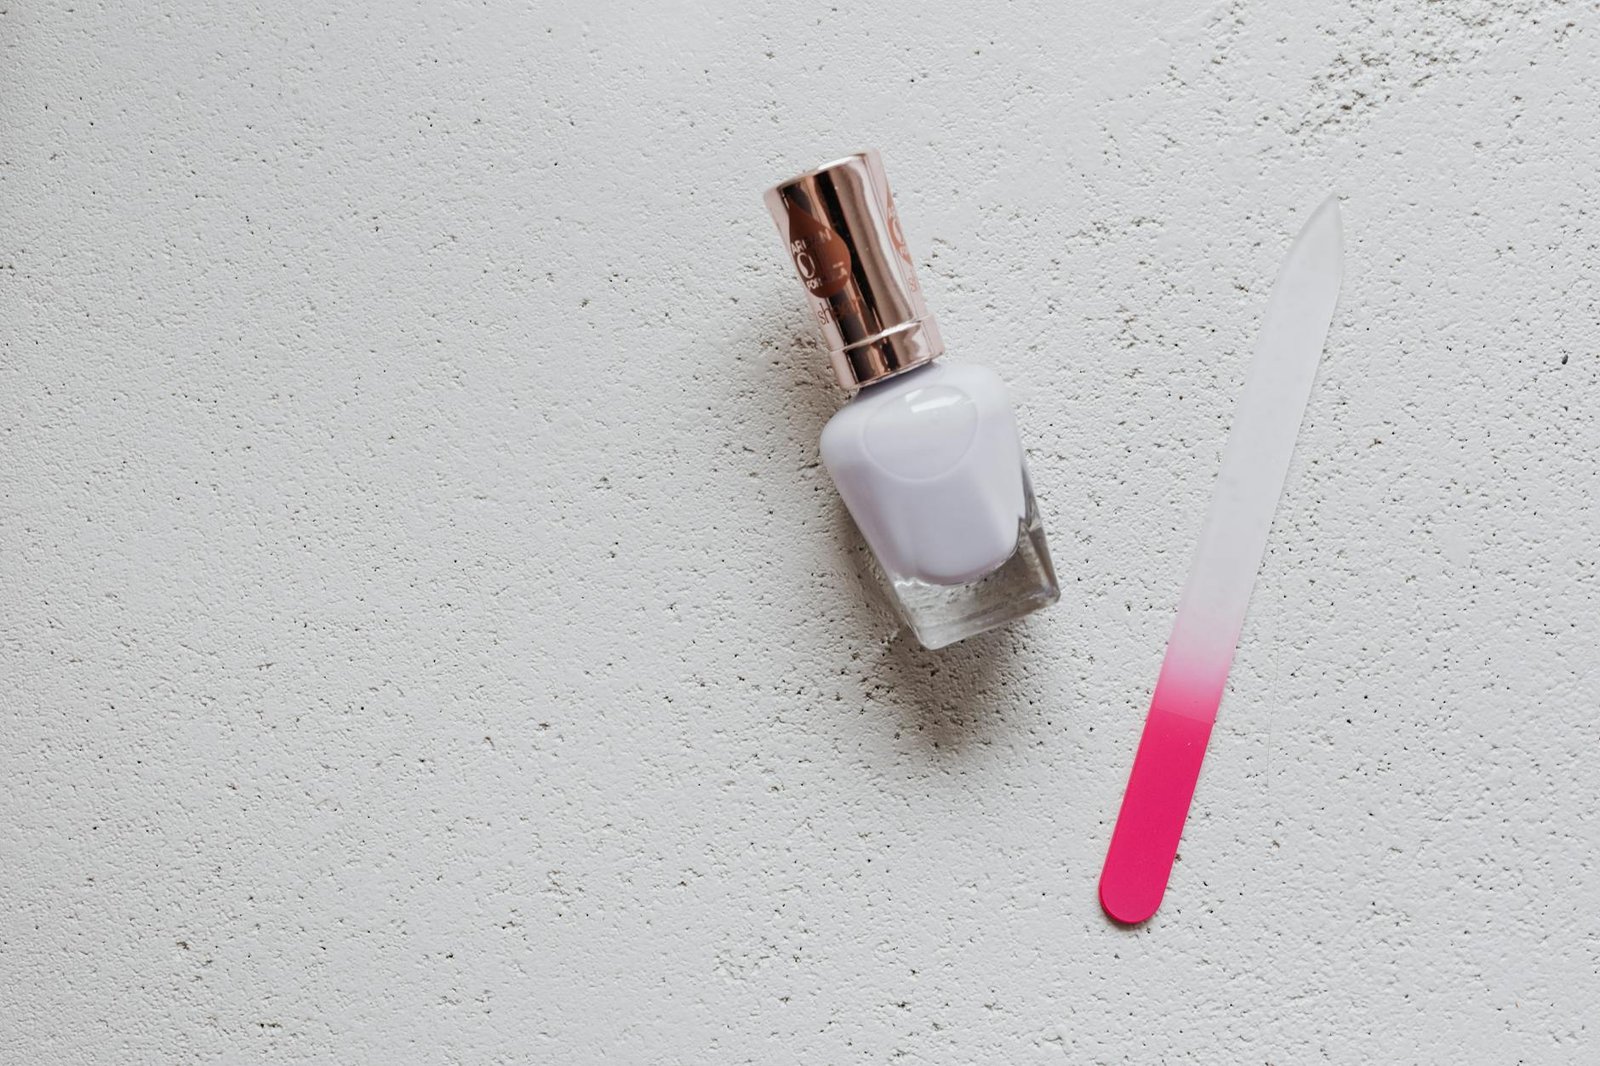
The sponge gradient is the most accessible technique for achieving smooth nail ombre at home. It requires a makeup sponge or a dedicated nail sponge, multiple nail polishes in the sunset palette, and patience with the blending process.
Process:
- Apply a white or light base coat — this maximises the vibrancy of the colours that follow
- Paint the nail polishes in parallel stripes on a makeup sponge, arranging the colours in gradient order from the first to last colour of the sunset sequence
- Dab the sponge onto the nail, pressing gently and rolling slightly to blend the colour boundaries
- Repeat with a fresh sponge application until the coverage is even and the gradient is smooth
- Clean the skin around the nail before applying a top coat
- Apply two coats of top coat to seal the gradient and reduce visible texture from the sponge application
Common sponge gradient issues: visible texture from the sponge (address with more top coat layers), uneven coverage (address with additional sponge applications before sealing), muddy blending where colours mix too much (use a small sponge strip and apply each colour separately with less overlap).
Gel Sunset Gradient
Gel nail systems allow for more controlled and durable gradient application than standard polish. Gel sunset gradients are typically applied in a salon context or with at-home gel systems:
The gel gradient technique uses a small flat brush to blend two adjacent gel colours at their boundary on the nail before curing under UV/LED light. Working quickly and curing each blend section before it runs prevents the colours from mixing too much. The result is a more precise gradient than the sponge method allows, with the durability of a gel manicure.
Chrome and Foil Gradient Effects
Adding chrome powder or holographic foil to a sunset gradient creates an iridescent shimmer that catches light differently at every angle. Applied over a cured gel gradient base, chrome powder is rubbed over the entire nail or selectively applied at specific points in the gradient (typically where the lightest colour sits) to create a shimmering highlight effect within the sunset colour fade.
Nail Art Accents on Sunset Gradient
Sunset gradient nails can be enhanced with additional nail art elements applied over the gradient base:
- Gold foil accents — small pieces of gold or rose gold foil applied at the tip or centre of the gradient nail create a luxurious, editorial look
- Glitter application — gradient glitter over a sunset base, or glitter concentrated at the tip, creates dimension and sparkle
- Fine line art — delicate line work in gold, white, or a contrasting colour creates floral, abstract, or geometric accents on one or two accent nails within the set
- 3D nail art — gems, pearls, or sculpted elements applied at the base of the nail or at an accent point within the sunset gradient
Sunset Gradient Nail Shapes
The shape of the nail affects how the gradient reads visually:
- Oval and round — the gradient curves naturally with the nail edge, creating a softer, more organic-looking sunset fade
- Square and squoval — the flat edge at the tip creates a clean horizontal break where the gradient ends, giving a more graphic and contemporary look
- Almond and stiletto — longer, tapered nail shapes give the gradient more length to develop across, creating a more dramatic and visible colour transition
- Coffin — the wide flat tip and tapered sides create a large canvas for sunset gradient at the broadest point of the nail, giving the colours maximum visible space
Matching Sunset Gradient Nails to Your Outfit
Sunset gradient nails are one of the most versatile nail art choices for coordinating with gradient fashion:
If you are building a full gradient look from nails to outfit, the gradient aesthetic outfit guide covers how to coordinate colour-fade pieces across every garment type for a cohesive total look.
- A sunset gradient nail set worn with a gradient hoodie in the same palette creates a total-gradient look from hands to shoulders
- Against an all-neutral or all-black outfit, sunset gradient nails become the single colour accent — visible every time you use your hands
- With a pastel gradient outfit, choose a pastel sunset nail palette to stay in the same tonal register
- For formal or occasion dressing, a pastel or smoky sunset gradient nail reads as polished and considered without the high visual energy of a vivid sunset set
Frequently Asked Questions
How do you do sunset gradient nails at home?
The sponge gradient method is the most accessible home technique. Apply a white base coat, paint your sunset colours in stripes on a makeup sponge, and dab the sponge onto the nail repeatedly until you achieve smooth coverage.
For more sunset colour palette ideas that extend beyond nail art, the sunset aesthetic outfit guide shows how the same warm-to-cool gradient transitions translate from manicure to full wardrobe styling.
Clean the surrounding skin, then seal with multiple top coat layers. The key is patience with repetition — most gradient results improve significantly with additional sponge applications before sealing.
What colours are in a sunset gradient nail?
Classic sunset gradient nails use yellow, orange, coral, hot pink, and purple in order from one end of the nail to the other. Variations include deep sunset (burnt orange to magenta to deep purple), pastel sunset (peach to blush to lavender), and tropical sunset (gold to orange to pink to turquoise). The defining quality is a warm-to-cool transition that mirrors the colour movement of an actual sunset sky.
How long do gradient nails last?
Standard nail polish gradient nails last approximately five to seven days before visible tip wear and chipping occur, depending on daily activities and top coat quality. Gel gradient nails last two to three weeks with proper application and curing.
Dip powder gradient applications can last three to four weeks. Applying a fresh top coat every two to three days extends any gradient manicure’s lifespan regardless of the base system used.